ONESOURCE
Workpapers Help
Create a Batch
You have the option to create a batch from several tabs in Workpapers—the steps are the same on each tab:
- BATCH LIST
- BATCH QUEUE
- BATCH HISTORY
The example below is from BATCH LIST:
- Select Batches on the main menu.
- On the BATCH LIST tab, select Create Batch.

- On 1 Select Workpapers for the Batch, enter a value in Batch Name.

- Select Sequential Batch if you want execute the workpapers in the order they appear in the batch (the top workpaper is executed first).
The workpapers are automatically executed in parallel if you do not select Sequential Batch.
- In the left pane, select the workpapers to add to the batch, and then select ADD.

If you need to remove workpapers from the batch, select them in the right pane, and then select REMOVE.
- If this is a sequential batch, you can reorder the workpapers by dragging and dropping the workpapers in the right column.

- Select Next.
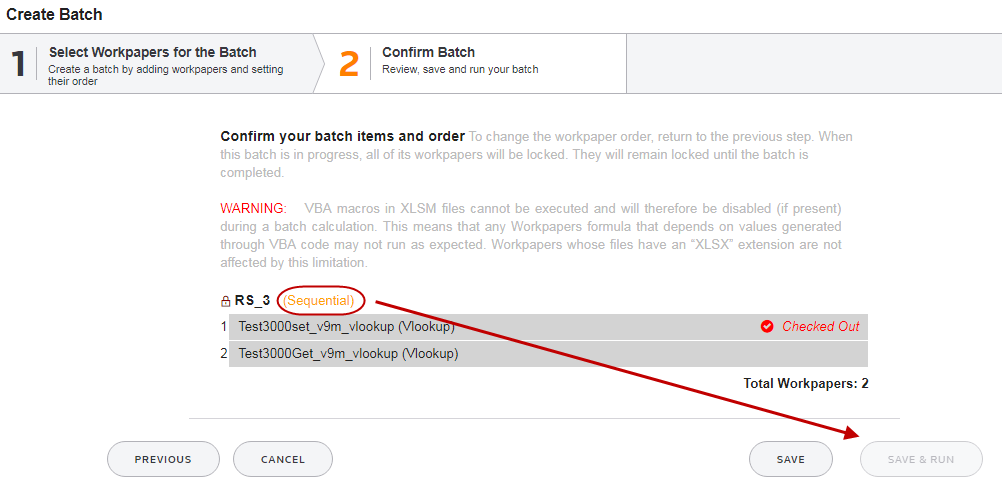
- On 2 Confirm Batch, select one of the following:
- Save: Select this option to save the batch and run it later.
- SAVE & RUN: Select this option to both save and run the batch now.
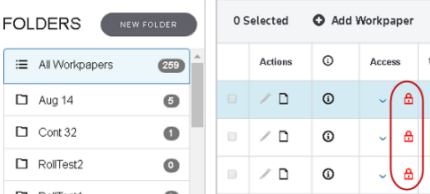
If your batch is sequential and contains a locked or checked out workpaper, you cannot run it from the wizard. Save it, and then run it after you remove the lock or check in the workpaper:
In parallel batches, each workpaper remains locked until it is processed.
In sequential batches, all workpapers are locked until the entire batch completes: